

Owning a home comes with its fair share of responsibilities, including regular maintenance and repairs. While hiring professionals for every little task can quickly drain your bank account, there are plenty of affordable DIY home maintenance projects that you can undertake yourself.
Whether you’re a seasoned DIY enthusiast or just starting out, these projects will not only help you save money but also give you a sense of accomplishment.
From cleaning gutters to installing energy-efficient light bulbs, this article will guide you through the process.
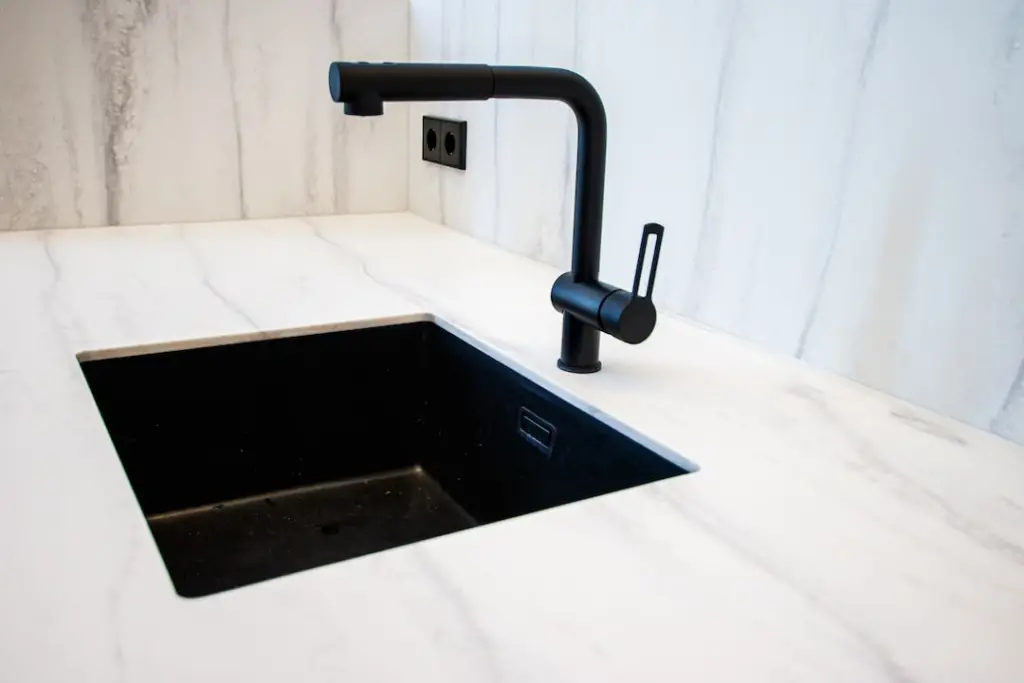
Fixing Leaky Faucets
To fix a leaky faucet, gather the necessary tools and materials. DIY faucet repair can save you money and prevent water damage in your home. Leaking faucets are a common plumbing issue, but with a little troubleshooting, you can easily identify and fix the problem.
The most common causes of faucet leaks are worn-out washers, damaged O-rings, or loose connections. To start fixing the leak, turn off the water supply to the faucet. Then, use a wrench to remove the handle and access the internal components. Inspect the washers and O-rings for any signs of wear or damage. If necessary, replace them with new ones.

Once you’ve replaced the faulty components, reassemble the faucet and turn the water supply back on. Check for any remaining leaks and tighten any loose connections if needed. Remember to test both the hot and cold water to ensure the issue is fully resolved.
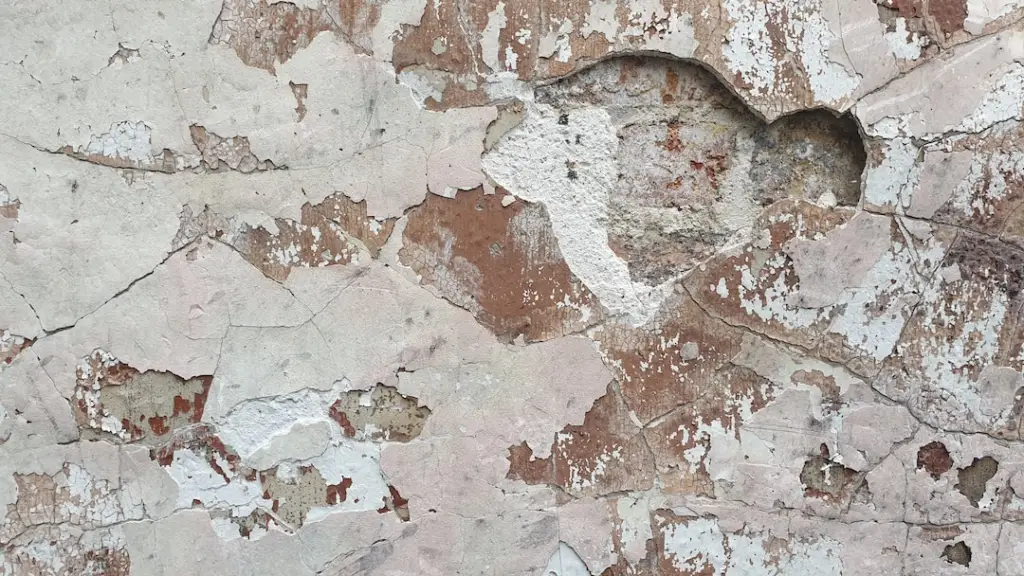
Patching Holes in Walls
You can easily patch holes in walls using a few simple steps. Wall repair techniques can vary depending on the size and severity of the hole.
For small holes, such as nail or screw holes, you can use a DIY wall hole fix by filling it with spackling compound or lightweight joint compound. These wall patching materials are readily available at any home improvement store. Simply apply the compound to the hole using a putty knife, smooth it out, and let it dry.
For larger holes, you may need to use a patching kit that includes a self-adhesive mesh patch and joint compound. Follow the instructions on the kit to cut the patch to size, apply it over the hole, and cover it with several layers of joint compound. Sand the area smooth and paint over it for a seamless wall repair.
Remember to clean your tools and work area promptly after completing the repairs. These simple and quick wall hole repairs will keep your walls looking flawless and maintain the harmony of your home.
Replacing Worn-out Caulk

For complete home maintenance, consider replacing any worn-out caulk to ensure a clean and polished appearance. Worn-out caulk not only looks unsightly, but it can also lead to water damage and mold growth if left unattended. By replacing the caulk, you can improve the overall aesthetics of your home and protect it from potential damage.
Here are some key points to keep in mind when replacing worn-out caulk:
- Caulk removal: Before applying new caulk, it’s essential to remove the old caulk thoroughly. You can use a caulk removal tool or a utility knife to carefully scrape away the old caulk.
- Caulk application: When applying a new caulk, make sure to choose the right caulk type for the specific area you’re working on. Silicone caulk is best for areas exposed to water, while acrylic caulk is suitable for interior applications.
- Caulk maintenance: Proper maintenance of caulk is crucial to ensure its longevity. Regularly inspect the caulk for any cracks or gaps and reapply the caulk as needed.
- Caulk tools: To achieve a professional-looking finish, invest in the right caulk tools such as a caulk gun, a caulk smoother, and a caulk finishing tool. These tools will help you apply and smooth the caulk evenly.
Taking the time to replace worn-out caulk is a simple yet effective way to maintain the appearance and integrity of your home. Don’t neglect this essential aspect of home maintenance, and enjoy the sense of belonging that comes with a well-maintained living space.
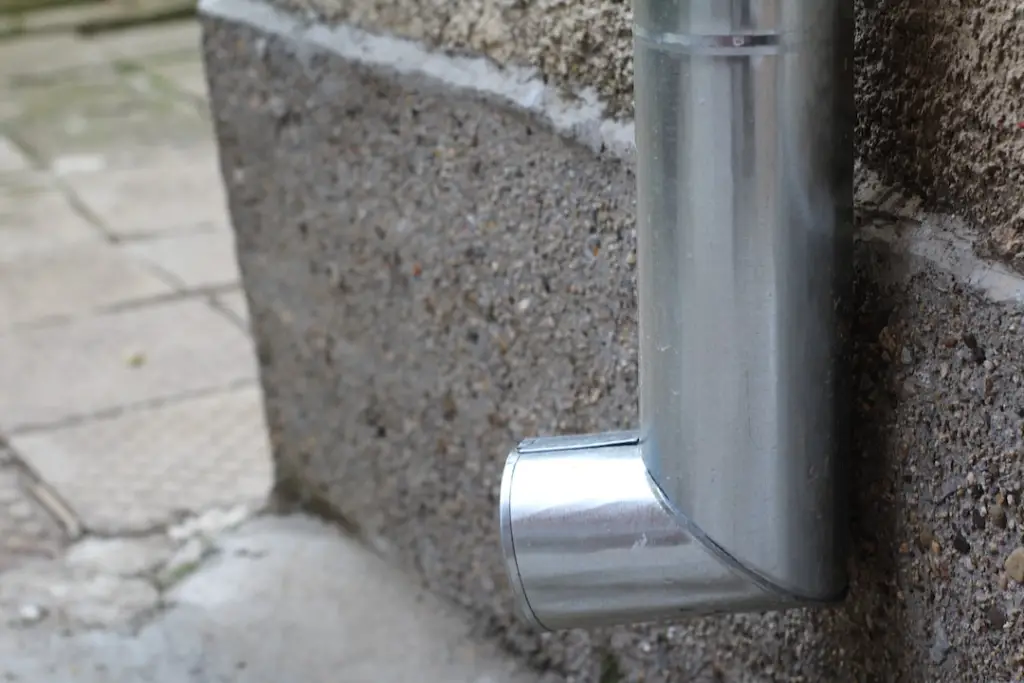
Cleaning Gutters and Downspouts
Clean out your gutters and downspouts regularly to prevent potential water damage to your home. Cleaning gutters and maintaining downspouts are essential tasks that should be done at least twice a year, preferably in the spring and fall. By doing so, you can prevent gutter clogs and ensure that rainwater flows freely away from your home.
To clean your gutters effectively, you’ll need some basic gutter-cleaning tools. Start by using a sturdy ladder to safely access your gutters. Then, use a gutter scoop or a small trowel to remove leaves, twigs, and other debris from the gutters. Make sure to dispose of the debris properly.

Next, move on to the downspouts. Use a plumber’s snake or a high-pressure hose attachment to clear any clogs in the downspouts. This step is crucial as clogged downspouts can lead to water overflow and potential damage to your home’s foundation.
Lastly, don’t forget to check for any leaks or damaged areas in your gutters. Repair or replace any sections that are compromised to ensure proper functionality.
Installing Energy-efficient Light Bulbs
To maintain the energy efficiency of your home and reduce your electricity bills, consider installing energy-efficient light bulbs. Making this simple change can have significant energy-saving benefits and contribute to long-term savings. Here are some reasons why you should choose the right bulbs and make the switch:
- Lower energy consumption: Energy-efficient light bulbs, such as LED or CFL bulbs, use up to 80% less energy than traditional incandescent bulbs. By using less energy, you can decrease your carbon footprint and make a positive impact on the environment.
- Reduced electricity bills: By using energy-efficient bulbs, you can save money on your monthly electricity bills. Although energy-efficient bulbs may have a slightly higher upfront cost, they have a longer lifespan and require less frequent replacement, leading to cost savings in the long run.
- Environmental impact: Traditional incandescent bulbs waste a significant amount of energy by converting it into heat rather than light. Energy-efficient bulbs, on the other hand, generate less heat and produce more light, resulting in reduced energy waste and lower greenhouse gas emissions.
By implementing these energy efficiency tips and making the switch to energy-efficient light bulbs, you can create a more sustainable home environment while enjoying the benefits of long-term savings and reduced electricity bills.
Insulating Windows and Doors
To improve the energy efficiency of your home and reduce drafts, consider adding weatherstripping to windows and doors. Reducing drafts is essential for maintaining a comfortable indoor temperature and lowering energy costs. Luckily, there are several weatherproofing techniques you can use to insulate your windows and doors effectively.

Window insulation is crucial in preventing heat loss and drafts. One effective method is to apply window film, which creates an additional layer of insulation. This film is transparent and helps to block out cold air while still allowing natural light to enter your home.
Another option is to use weatherstripping tape or caulk to seal any gaps between the window frame and the glass. This helps to create a tight seal and prevent drafts from entering your home.
When it comes to door insulation, installing door sweeps or weatherstripping along the bottom of the door can significantly reduce drafts.
Door sweeps act as a barrier, preventing cold air from seeping in and warm air from escaping. You can use weatherstripping tape or foam strips to seal any gaps around the edges of the door.
Repairing or Replacing Damaged Window Screens
If your windows’ screens are damaged, repairing or replacing them is an essential task to maintain your home’s functionality and keep out pests. Damaged screens not only compromise your home’s security but also allow insects and debris to enter.

Here are some reasons why repairing or replacing damaged window screens should be a priority for you:
- Peace of mind: Having intact screens gives you a sense of security, knowing that your home is protected from unwanted intruders.
- Improved air circulation: Properly functioning screens allow fresh air to flow into your home, creating a more comfortable and inviting atmosphere.
- Enhanced energy efficiency: Well-maintained screens help to keep your home cool in the summer and reduce the need for excessive air conditioning, saving you money on energy bills.
Now that you understand the importance of screen maintenance, let’s discuss how to go about repairing or replacing them.
DIY screen repairs can be done by patching small holes or tears using a repair kit, which includes adhesive patches and a roller tool. For more significant damage, such as large tears or bent frames, it may be necessary to replace the entire window screen.
Window screen replacements are readily available at home improvement stores and can be installed using basic tools and instructions.
Painting Interior Walls
Before starting your painting project, gather all of the necessary supplies. Here is a list of items you will need:
| Supplies | Purpose |
|---|---|
| Paint rollers | These are great for covering large areas quickly |
| Paintbrushes | Use these for cutting in and painting trim |
| Drop cloths | Protect your floors and furniture from paint spills |
| Painter’s tape | Create clean lines and prevent paint bleed |
| Sandpaper | Smooth out any rough patches on the walls |
| Primer | Prepares the walls for paint and improves paint adhesion |
| Paint | Choose a high-quality paint that suits your style and budget |

Now that you have your supplies ready, let’s talk about some important painting techniques. First, it’s crucial to prepare the walls by cleaning them and filling in any holes or cracks. Sand the walls lightly to ensure a smooth surface.
Next, prime the walls with a coat of primer to seal the surface and provide a better base for the paint. Now comes the fun part – choosing the right paint color! Consider the mood and atmosphere you want to create in each room.
Once you have selected your color, apply the paint using a roller for large areas and a brush for edges and corners. Choose the right paint finish for each room.
Matte finishes are great for hiding imperfections, while gloss finishes are more durable and easy to clean. With these tips, you’re ready to transform your interior walls and create a space you’ll love.

Refreshing Kitchen Cabinets With New Hardware
To refresh your kitchen cabinets with new hardware, gather the necessary tools and materials. Here’s a list to guide you through your cabinet makeover:
- Screwdriver: A trusty tool that will help you remove the old hardware and install the new one.
- New cabinet handles or knobs: Choose hardware that suits your style and complements the overall look of your kitchen.
- Measuring tape: Ensure accurate placement of the new hardware by measuring the distance between the existing holes.

Refreshing your kitchen cabinets with new hardware can bring about a remarkable transformation. Here’s why you should consider a hardware upgrade:
- Instant kitchen transformation: Swapping out old, worn-out hardware for new ones can breathe new life into your cabinets and give your kitchen an updated look and feel.
- Affordable renovations: Compared to a full kitchen renovation, a DIY cabinet refresh with new hardware is a cost-effective way to improve the appearance of your kitchen without breaking the bank.
- DIY satisfaction: Completing a home improvement project on your own can provide a sense of accomplishment and pride, making you feel more connected to your living space.
Embark on your DIY cabinet refresh and witness the power of a hardware upgrade in transforming your kitchen into a space you’ll love.
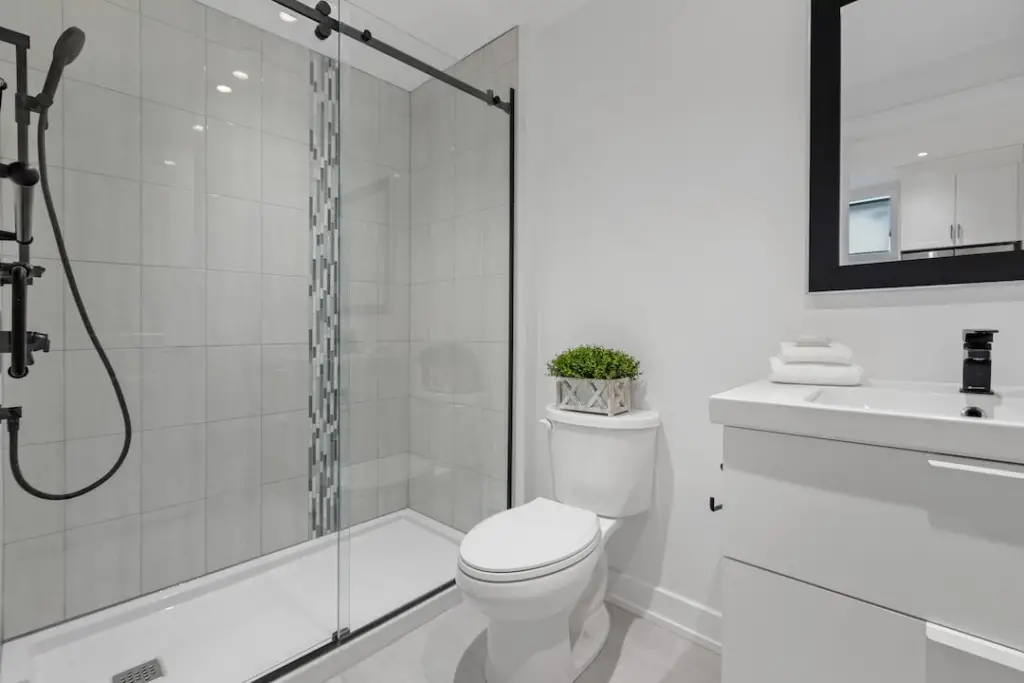
Updating Bathroom Fixtures
Now let’s move on to updating your bathroom fixtures, which can greatly enhance the overall look and functionality of your space. By making a few simple changes, you can transform your bathroom into a more modern and inviting oasis. Here are some affordable DIY projects to consider:
| Project | Benefits |
|---|---|
| Updating bathroom tiles | Gives your bathroom a fresh and clean look |
| Replacing showerhead | Improves water pressure and saves water |
| Installing a vanity mirror | Adds style and functionality to your space |
| Adding storage shelves | Maximizes storage and reduces clutter |
| Upgrading toilet seat | Enhances comfort and hygiene |
Updating bathroom tiles is a great way to revitalize the appearance of your bathroom. Choose tiles that match your style and create a cohesive look. Replacing your showerhead can make a big difference in your shower experience. Look for a water-saving option to conserve water and save money on your utility bills.
Installing a vanity mirror not only adds a decorative touch but also provides a practical solution for your grooming routine. Consider adding storage shelves to keep your bathroom essentials organized and easily accessible. Lastly, upgrading your toilet seat can improve comfort and cleanliness.

With these simple DIY projects, you can give your bathroom a fresh new look without breaking the bank. Get ready to transform your bathroom into a space that you’ll love spending time in.
Maintaining HVAC System Filters
When maintaining HVAC system filters, it’s important to regularly clean or replace them to ensure optimal performance and air quality in your home. Here are some tips to help you maintain your HVAC system and improve indoor air quality while reducing energy consumption:
- Clean air vents: Regularly clean the air vents in your home to remove dust and debris. This will help improve the efficiency of your HVAC system and prevent the buildup of allergens and pollutants in your home.
- Replace air filters: The air filters in your HVAC system play a crucial role in trapping dust, allergens, and other particles. Make sure to replace them every 1-3 months, depending on the manufacturer’s recommendations. This won’t only improve indoor air quality but also help your system run more efficiently.
- Maintain your HVAC system: In addition to cleaning air vents and replacing filters, it’s important to schedule regular maintenance for your HVAC system. This can include cleaning coils, checking refrigerant levels, and ensuring all components are in good working condition. Regular maintenance will prolong the lifespan of your system and keep it running at its best.
Sealing Cracks in Driveways and Walkways
You can easily maintain your outdoor spaces by sealing cracks in your driveways and walkways, ensuring they remain safe and in good condition. Driveway maintenance and walkway repairs are essential to prevent further damage and prolong the lifespan of these surfaces.
Cracks in driveways and walkways can occur due to various factors such as weather conditions, heavy foot traffic, or the settling of the ground. Luckily, there are simple DIY driveway fixes and walkway repairs that you can do yourself.
To start, you’ll need to identify the cracks in your driveway or walkway. Small cracks can be easily filled with a crack sealing technique, using materials such as concrete crack filler or asphalt crack sealer. For larger cracks, you may need to use a patching compound to fill the gaps. Before applying any sealant or filler, make sure to clean the cracks thoroughly and remove any loose debris or dirt.

Once the cracks are clean, you can apply the chosen sealant or filler according to the manufacturer’s instructions. It’s important to apply an even layer and smooth it out to ensure a professional-looking finish. Allow the sealant or filler to dry completely before allowing any foot or vehicle traffic on the repaired area.
Regular maintenance and prompt repairs will help prevent further damage to your driveways and walkways. By following these DIY driveway fixes and walkway repairs, you can ensure that your outdoor spaces remain safe, functional, and visually appealing.
Adding Weatherstripping to Doors and Windows
To ensure further protection and energy efficiency, enhance your home by adding weatherstripping to doors and windows. Weatherstripping is a simple and cost-effective way to improve the insulation of your home, making it more energy efficient and reducing your energy bills.
Here are some benefits of adding weatherstripping:
- Energy efficient insulation: Weatherstripping creates a seal between the door or window and its frame, preventing air leaks and reducing heat loss or gain. This helps to maintain a comfortable temperature inside your home and reduces the need for excessive heating or cooling.
- Weatherproofing techniques: Weatherstripping can effectively seal gaps and cracks in doors and windows, preventing drafts and keeping out moisture, dust, and pests. It creates a barrier against the elements, ensuring that your home stays cozy and protected.
- Draft prevention methods: Air leaks around doors and windows can cause uncomfortable drafts, making your home feel less inviting. Weatherstripping eliminates these drafts, creating a more comfortable living environment and increasing your sense of belonging in your own home.
Benefits of Budget-Friendly DIY Home Maintenance Projects
When it comes to budget-friendly DIY home maintenance projects, there are several benefits to consider.
Cost-Saving Repairs Techniques

Maximize your budget with budget-friendly DIY home maintenance projects that can save you money on repairs. Taking on cost-effective renovations and money-saving home improvements not only helps you keep your home in top shape but also allows you to save money in the long run.
Here are some affordable DIY repairs and budget-friendly home upgrades that can help you achieve this:
- Insulating your attic: This simple and inexpensive maintenance project can significantly reduce your energy bills by preventing heat loss during the winter and reducing heat gain in the summer.
- Weatherstripping doors and windows: By sealing gaps and cracks, you can prevent drafts and reduce your heating and cooling costs.
- Installing low-flow fixtures: Upgrading your faucets and showerheads to low-flow options can save you water and money on your utility bills.
Increased Property Value
By consistently completing budget-friendly DIY home maintenance projects, you can increase the value of your property while saving money on repairs.
One way to boost your property’s value is by enhancing its curb appeal. Simple DIY landscaping projects, such as trimming overgrown bushes, planting colorful flowers, and adding mulch to your garden beds, can make a big difference in how your home looks from the outside.
Another effective strategy is to tackle exterior home improvements, such as repainting the front door, cleaning the windows, and power washing the siding. These projects can give your home a fresh and inviting appearance.

Consider home staging to make your property more appealing to potential buyers. By decluttering, rearranging furniture, and adding decorative touches, you can create a welcoming atmosphere that will impress visitors and increase your property’s value.
Empowering Homeowners’ Skills
You can further develop your skills as a homeowner by regularly engaging in budget-friendly DIY home maintenance projects, which will empower you to take control of your property’s upkeep. By diving into home improvement tasks, you not only save money but also gain valuable DIY skills that can be applied to future projects.
Here are some benefits of these budget-friendly upgrades:
- Homeownership empowerment: Tackling DIY projects allows you to become more self-sufficient, giving you a sense of pride and accomplishment as you take ownership of your home’s maintenance.
- Budget-friendly upgrades: DIY projects are often more affordable than hiring professionals, allowing you to make improvements without breaking the bank.
- Skill-building projects: Each DIY task you undertake enhances your knowledge and abilities, allowing you to become more proficient in various areas of home maintenance.
Engaging in these DIY projects not only enhances your home but also fosters a sense of belonging and accomplishment as you take charge of your property’s care.
Conclusion
By fixing leaky faucets, patching holes in walls, and replacing worn-out caulk, you can save money and improve the overall condition of your home.

Don’t forget to clean gutters and downspouts, install energy-efficient light bulbs, maintain HVAC system filters, seal cracks in driveways and walkways, and add weatherstripping to doors and windows.
Start these projects today and enjoy a well-maintained and comfortable home.
